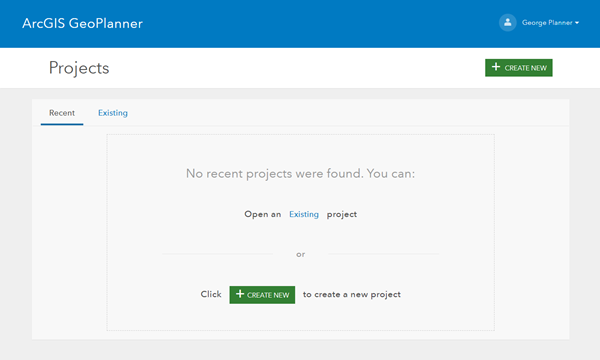
All work in ArcGIS GeoPlanner is done in a project. A project represents a planning goal and a set of items, processes, and decisions that have to be made to meet that goal. GeoPlanner projects are created from templates. Templates contain a web map and one or more feature layers with symbols and attributes. Templates represent the symbols, attributes, default values, and indicators that are used for planning purposes in an industry. A number of ready-to-use templates are available to help you get started. These templates can be used for a variety of planning scenarios, including economic development, land use, and green infrastructure. There is also a template for basic sketch planning.
You may want to work with symbols, default values, design layers, and indicators that differ from those provided by the ready-to-use templates in GeoPlanner. The following steps help you create a template that you can customize to your planning standards. Any new project that you create from a template will include your changes.
- Sign in to ArcGIS GeoPlanner.
- Create or open an existing project.

- Click Add Data to add the layers.
You can add data available to you in your organization from the My Content and My Project tabs. Data can include hosted layers, web services, and more.
- Customize design type symbols and default values to
match your planning standards. You can add new and change existing
types on the Design Type dialog box.
Tip:
You can also use Add to design layers to create new design layers.
- Customize your dashboard by creating new key performance indicators (KPIs) or charts.
- Optionally, you can create bookmarks.
Bookmarks provide shortcuts to interesting places on a map. When others click a bookmark, the map zooms to the location.
- Click the Open Menu button
 and choose Save.
 The changes in your web map are saved so you can write them to your template.
- Click the Open Menu button
 and choose Collaborate.
 - Click Save as Template.
In the Save as Project template window, add a title, summary, description, and some tags. You can decide who has access to your project: share it with people in the organization, make it public, or keep it private.
- Click Create.
Your new template appears in the search window when you choose a template to create a new project.
You can also create your own template in ArcGIS Pro or ArcGIS Desktop. This is useful when you want to add attribute domains to your scenario layers.